Table Of Content
Branding is a strong marketing mechanism. And every business wants to take advantage of it.
The more targeted your branding strategy is, the higher your chances of attracting a new audience to your business.
If you’re a website owner, you want people to remember you. You strive to create a memorable impression.
Here favicon comes into the picture.
BUT… the problem is that – not many have the expertise to add a favicon website.
More and more website owners recognize the importance of favicons. And it’s high time that you should also consider it.
Have you created a favicon for your website? Look no further!
This article will give you a stepwise process demonstrating how to add the favicon to your website.
What Is A Favicon?
Let’s understand it practically.
Simply watch the address bar of your browser’s current tab. Now you see a small image.
You’re on our site now, so you’ll see a small version of our logo on the address bar.
Something like this:
Simply put, a favicon is a tiny image displayed beside your website name on the tab.
Most websites use a compressed (16816 pixels) version of their logo as their favicon.
Why Are Favicons Important?
How many tabs are active on your browser right now? You will agree with us that most of us open multiple tabs simultaneously.
Amidst multiple active tabs, how can even a user locate your website? The answer is favicon.
It gives you a unique identity and makes you memorable.
By Adding A Favicon To Your Website, You Allow A New User To Figure You Out From The Website:
- Search results
- Bookmark tab
- The open tab of your website
In addition to increasing visibility, it gives your brand a more polished appearance and bolsters your credibility.
6 Steps To Add Favicon To Your Website
No need to design something out of the box! You’ll need to know the best practices to create a great favicon that enhances your user experience. Keep learning!
1. Select A Favicon Generator
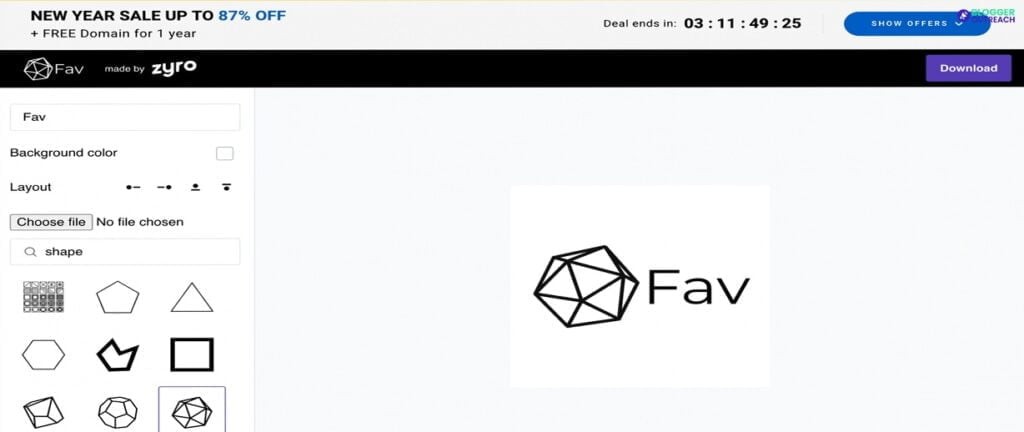
You need to be careful when choosing a reliable favicon generator from the many available on the internet; not all are dependable.
There are different favicon generators available on the web. You have to be smart enough to choose the right one.
2. Image Selection

When selecting a favicon image, be sure to choose carefully. Not all images are suitable for use as a favicon, so consider your options wisely.
Above all, avoiding selecting cluttered images is important, as they can be difficult to make out when viewed on a tab as a favicon.
Even without an intentional plan to return, a memorable favicon design that stands out can encourage users to return to your website. – so it’s evident that you select a perfect favicon for your website.
3. Create Your Image
Let’s understand this one by one.
(i) Design
You can capitalize any of the following tools to design your favicon:
- Fireworks
- Photoshop
- Corel Paint, etc
(ii) Size
The required size of a favicon is 16*16 pixels. So while finalizing the image, you must keep the size in mind. If you’re using a larger image, think of cropping and resizing it – especially if you’re using your LOGO as your favicon.
(iii) File Type
You can save your file as any of the following types:
- .jpg
- .png
- .gif
- .bmp
- .tif
4. Know How To Convert The Image
So you have created your image, right? But that’s not enough. You need to convert your Favicon into the standard format – favicon.ico.
Do you know how to convert the file?
Navigate to Google and type – ‘how to convert image to .ico format?’
Here you’ll come across multiple online converters that serve the same purpose. Take advantage of any of those converters.
Go to any of these converters, upload the image, and select the size- you’re good to go!
5. Color Selection
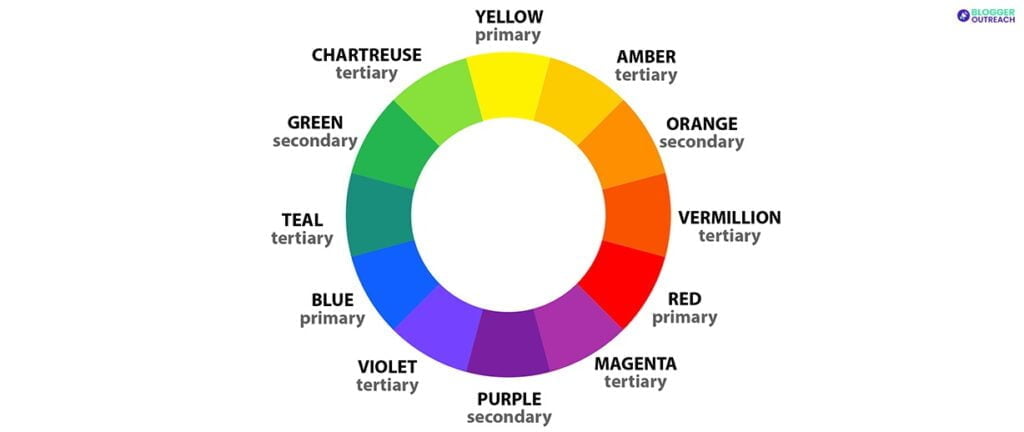
Why is color selection important? It’s a matter of visibility – as simple as that.
You’re making a BIG mistake if your favicon’s color aligns with the background color of your browser tab. In this case, people can’t differentiate you.
In turn, you’re not making an impact.
So, the color of your favicon should be different from the tab’s background. Don’t let your favicon blend with the background – it should be easily recognizable.
5. Add HTML Code
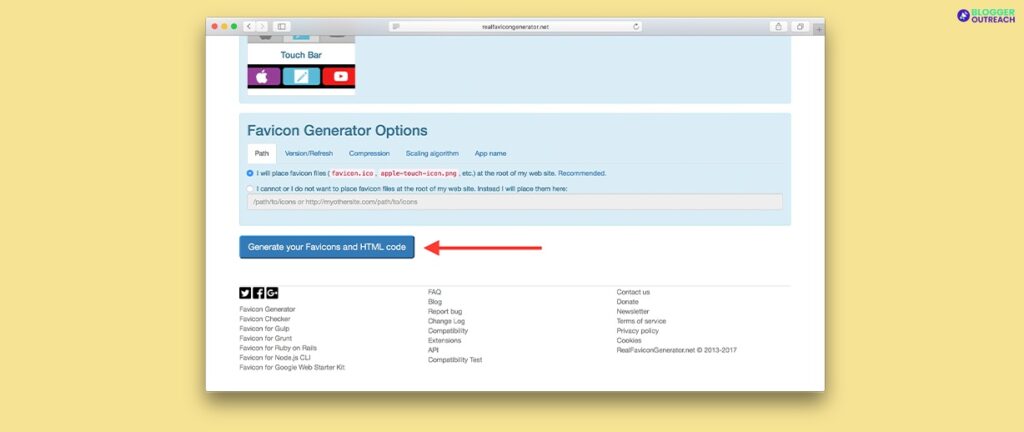
Hurray! Your favicon is ready. It’s time to make it discoverable.
We agree that most browsers don’t require a code. It applies to old browsers.
To make it discoverable, you must consider adding the following to the tags of your header:
<link rel="icon" type="image/x-icon" href="http://example.com/favicon.ico" />
Wrap Up!
In 1999, Internet Explorer introduced a new feature, Favicon, short for “favourite icon”!
And, with time, favicon has garnered substantial popularity.
Take advantage of the above-mentioned best practices and make your brand memorable.
This is for the day! We hope this guide was on point to add value to branding efforts.
We will be back with another article soon. Then then, keep growing!
Read Also:


